|
Project: Cut and Paste Icarus like Matisse
Materials: Videos: "Henri Matisse for Kids," and " K2 Matisse." Several sheets of white paper, paint brush, glue, scissors, blue, yellow, red, blue and black tempera paint. Objective: Learn about Matisse and his Cut Art style. Use his Cut Art of Icarus as inspirations to create two similar works of art. Procedure: Watch the informative video first and then the instructional video, “K2 Matisse's Icarus," once and then watch it again as you work. Follow along and pause as needed. Take a picture of your work. Post it along with a critique. Review the procedure by rewatching the video on the home page on critiquing. Be sure to include your name and title your work on your post.
0 Comments
Project: Painting Values for the Sky, Trees and Snow.
Materials: Video: "K2 S1 V2 L9 Values of Sky, Trees and Snow," white paper, paint brush, blue, and black tempera paint. Dark blue, medium blue, light blue, and white oil pastel. Objective: Learn to paint shades of blue for the the sky and blend them together to create a gradation. Draw darker trees and then draw increasingly lighter trees in front of each other to show value and space (background, middle ground and foreground). Create smaller and lighter snowflake designs to show a layer effect and to also show spacial orientation. Procedure: Watch the instructional video, “K2 V2 S1 L9 Values of Sky, Tees and Snow," once and then watch it again as you work. Follow along and pause as needed. Take a picture of your work. Post it along with a critique. Review the procedure by rewatching the video on the home page on critiquing. Be sure to include your name and title your work on your post.
Project: Hanging Pine Tree
Materials: Video: "K2 Pine Tree," light blue and dark green construction paper, packaging/cereal box, green paint, yellow paint, paintbrush, yarn/string, masking tape, scissors, pencil, sponge and glue Objective: Learn to paint texture using a sponge and then cup Procedure: Watch the instructional video, “K2 Pine Tree," once and then watch it again as you work. Follow along and pause as needed. Take a picture of your work. Post it along with a critique. Review the procedure by rewatching the video on the home page on critiquing. Be sure to include your name and title your work on your post.
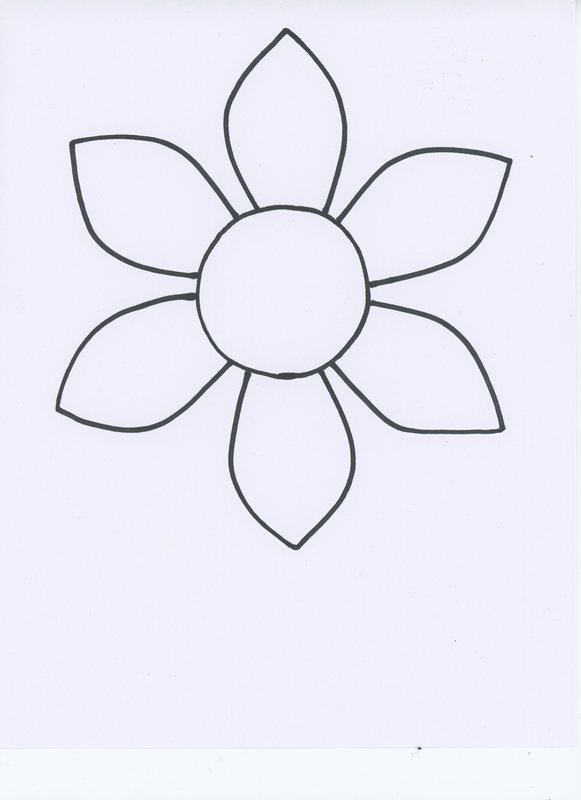
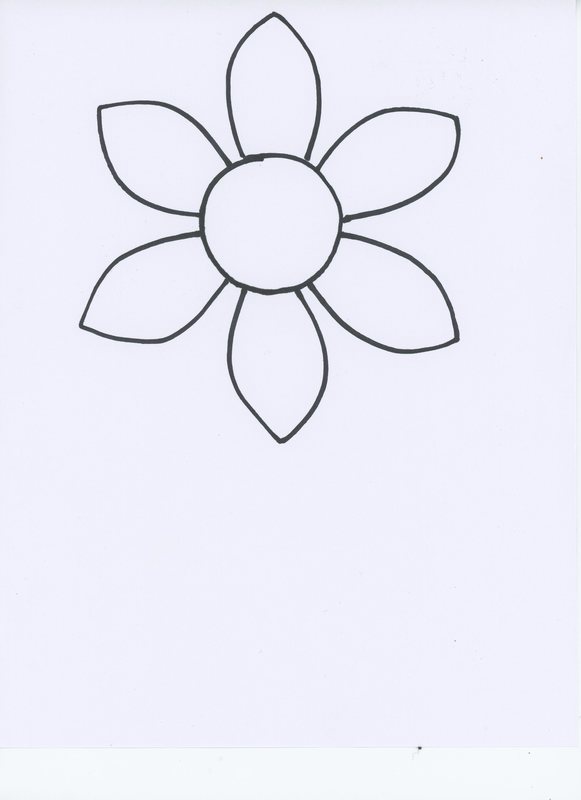
Project: Assembling a Water Lily Part 2
Materials: Video: "K2 L7 S1 V2 Water Lily: Part 2," the painted three sizes of water lilies and lily pad print outs. Yellow strips of paper, scissors, pen and glue Objective: Learn to assemble 3 sizes of water lily flowers on a lily pad with yellow stamens . Procedure: Watch the instructional video, “K2 L7 V2 S1 Water Lily: Part 2," once and then watch it again as you work. Follow along and pause as needed. Take a picture of your work. Post it along with a critique. Review the procedure by rewatching the video on the home page on critiquing. Be sure to include your name and title your work on your post.
Project: Water Lily Part 1
Materials: Video: "K2 L6 V2 S1 Water Lily: Part 1," tempera paint, palette, paint brush three sizes of water lilies and lily pad print outs. Objective: Learn about Monet and his style of art. Learn to mix paint and create texture. Paint 3 sizes of flowers on the front and in the back along with the lily pad. Procedure: Watch the instructional video, “K2 L6 V2 S1 Water Lily: Part 1," once and then watch it again as you work. Follow along and pause as needed. Take a picture of your work. Post it along with a critique. Review the procedure by rewatching the video on the home page on critiquing. Be sure to include your name and title your work on your post. 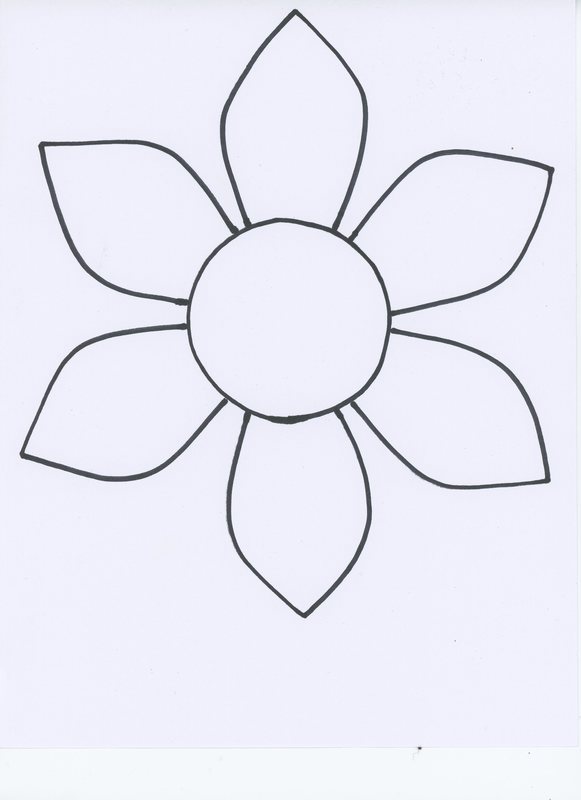
Project: Cut Art Design
Materials: Video: "K2 L5 V2 S1 Cut Art," glue, scissors, and several colors of construction paper along with black. Objective: Learn about Matisse and his style of art. Learn to arrange two vertical and two horizontal designs on opposite sides of a folded sheet of 9X12 black construction paper. Procedure: Watch the instructional video, “K2 L5 V2 S1 Cut Art," once and then watch it again as you work. Follow along and pause as needed. Take a picture of your work. Post it along with a critique. Review the procedure by rewatching the video on the home page on critiquing. Be sure to include your name and title your work on your post.
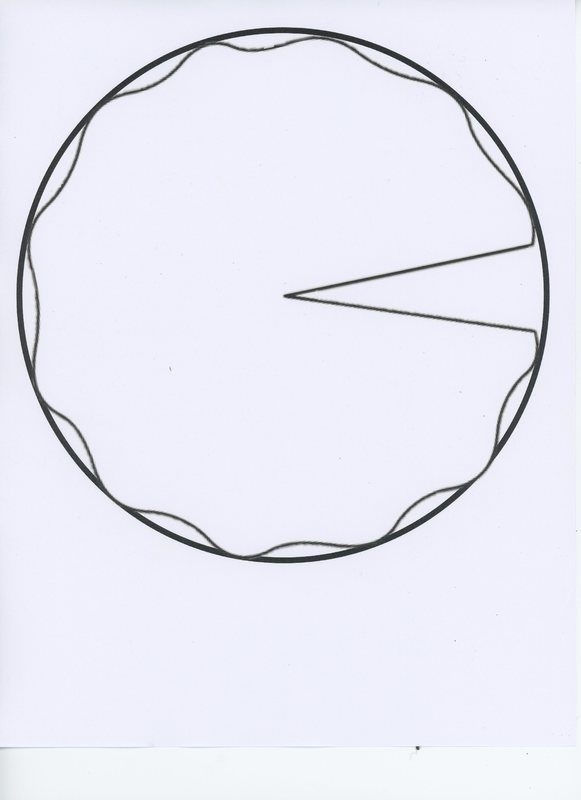
Project: Assemble the painted Word Doc papers into a color wheel.
Materials: Video: "K2 L4 V2 S1 Color Wheel Part 2: Assemble," glue, scissors, yarn, circles template and the painted copies of the triangular/diamond shapes downloaded (from this page). Objective: Learn to arrange and assemble a color wheel in the correct order and position. Procedure: Watch the instructional video, “K2 L4 V2 S1 Color Wheel part 2: Assemble,” once and then watch it again as you work. Follow along and pause as needed. Take a picture of your work. Post it along with a critique. Review the procedure by rewatching the video on the home page on critiquing. Be sure to include your name and title your work on your post.
Project: Paint Color Wheel and Rainbow Colors on shapes on a Word Doc.
Materials: Video: "K2 L3 V2 S1 Color Wheel and Rainbow Colors Part 1," tempera paint, paint brush, palette, circles template and three copies of the triangular/diamond shapes downloaded (from this page). Objective: Learn to paint the colors for color wheel and the colors of the rainbow. Procedure: Watch the instructional video, “K2 L3 V2 S1 Color Wheel and Rainbow Colors part 1” once and then watch it again as you work. Follow along and pause as needed. Take a picture of your work. Post it along with a critique. Review the procedure by rewatching the video on the home page on critiquing. Be sure to include your name and title your work on your post. 
Project: Create a birch tree by cutting and pasting paper that has been painted with texture.
Materials: Video: "Birch Tree Assemble K2 L2 V2 S1," tempera paint, sponge, paint brush, palette, tree branch, tag board, and white paper. Objective: Learn to create texture using a sponge and tempera paint and then create a birch tree trunk with strips of tag board. Also, draw tree branches using a branch and assemble all the parts together to create a birch tree picture. Procedure: Watch the instructional video, “K-2 S1 V2 Birch Tree” once and then watch it again as you work. Follow along and pause as needed. Take a picture of your work. Post it along with a critique. Review the procedure by rewatching the video on the home page on critiquing. Be sure to include your name and title your work on your post. Project: Collect fall leaves to create textured paper and leaf prints. Materials: Video: "K-2 V2 L1 Fall Leaves," Tempera paint, sponge, paint brush, palette, leaves, and white paper. Objective: Learn to create texture using a sponge and tempera paint then create a leaf print by painting the rough side of a leaf. Procedure: Watch the instructional video, “K-2 V2 L1 Fall Leaves” once and then watch it again as you work. Follow along and pause as needed. Take a picture of your work. Post it along with a critique. Watched the critiquing video on the home page to review the procedure. Be sure to include your name and title your work. |
AuthorWrite something about yourself. No need to be fancy, just an overview. Archives
January 2019
Categories |
 RSS Feed
